

Have you seen stud welding in action? It is more powerful than a bolt and cleaner than drilling. If you want to step up your welding game in 2026, this guide is going to show you all of the powerful and effective ways to weld studs. It beats all other traditional methods and repairs ships, builds steel buildings, and shovels at the garage.
Stud welding is a fastening technique that, without drilling and without any tasks, uses electric arcs to join fastening to the base plate of your construction. With only one access side, you can complete your construction in no time, and the connection will have full-strength fusions. Whether you are building a skyscraper or an engine block, stud welding is the technique to go for when you want a permanent and highly loaded connection.
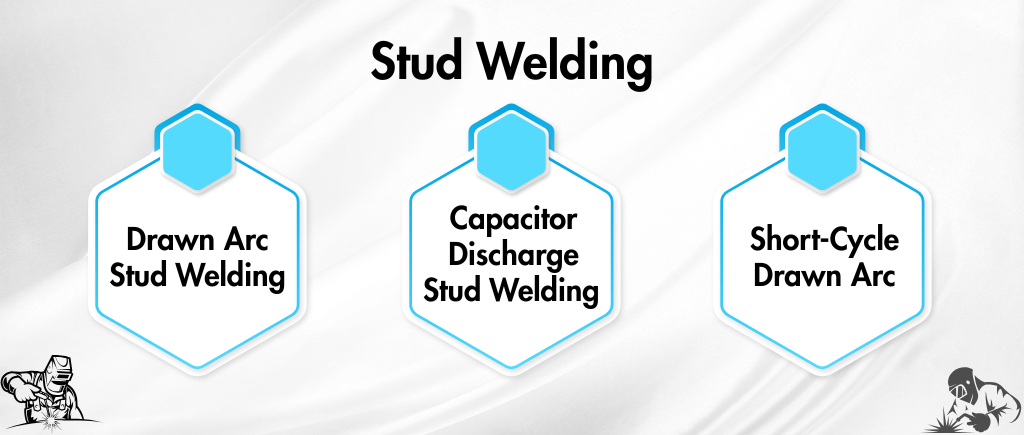
Anchored Arc Draw Welding is a technique for stud welding
- Drawn Arc Stud Welding (Heavy Duty King)
- Best For: Thick steel (3-25mm studs), construction, shipbuilding.
- How It Works: The stud draws upwards, and the arc melts both the stud and the base. It then plunges, forming a fillet collar.
- Speed: Under ¾ second per stud!
- Pro Use: Ceramic ferrule shapes perfect welds.
- Capacitor Discharge (CD) Stud Welding (Precision Speed)
- Best For: Thin metals (<2mm), electronics, appliances.
- There are two contact types: one is an instant zap, and the other is a gap in controlled energies.
- Flash: 1-3 milliseconds—blink and it’s done!
- Short-Cycle Drawn Arc (Lightweight Power)
- Sweet Spot: Smaller studs (up to 10mm) on thin plates.
- Advantage: No ferrules, less heat, perfect for stainless.
Tools Needed by Each Stud Welder
- Stud Welder Gun: Pistol Grip for Drawn Arc, Light Weight for CD.
- Power Supply: DC Inverter (250-2000 amps, depending on stud size).
- Studs & Ferrules: Mild Steel, Stainless &Aluminium- match your base metal.
- Ferrule Breaker: Chips Ceramic Rings Post-weld.
- Ground Clamp: Clean connection made = clean arcs.
Step-by-Step Best Practices
Prep like a Pro
- Base metal clean- grind away rust, oil, wipe clean.
- Stud tips- prepare sharp for CD & filled with flux for drawn arc.
- Gap/lift set: 1/8”- 1/4” is typical (automatic machine adjusts).
Weld Execution
- Stud held firmly against the plate.
- Gun triggered- held steady for 1- 2 sec.
- Break ferrule- do a fillet check (full circle = win).
- A test pull- should snap base metal first.
Troubleshooting the Top Issues
- Weld Porosity: Metal Dirty or incorrect gap. Solution: Double-clean + adjust gap.
- Stud Stuck: Too low of power or bad ground. Solution: check all connections + amp setting.
- No Fillet Present: Problem with ferrules. Solution: replace the ferrule + get proper plunge.
- DIY Challenge: This weekend, weld your first stud, post your pics below!
Real World Uses that are crushing it
- Construction: Steel beams & deck plates (drawn arc is used a lot).
- Manufacturing: Engine blocks & transformers (CD used for precision).
- Shipbuilding: Plating the hull- millions of studs used annually!
- DIY: Trailer hitches & Tracks for garage doors.
Safety always comes first
- PPE: Helmet, jacket with leather, and gloves.
- Smoke and fumes: Arc smoke poses a health risk.
- Ground: Put a stop to shocks.
- Clear: Ferrules fly, and they sting!
Upgrade Your Fastening Skills
Stud welding is instant, and bolt-beating strength is achieved in seconds. If you learn these tricks and use the right gear, you will always be ahead of the drill-and-tap teams.
Increase your productivity with the advanced tools from Welding Electrode making machine Manufacturers, and with the complete plan, you will be able to weld electrodes efficiently.